|
|
In this section, we will feature furniture makeovers. At the beginning of each new project will be the very first "before" and the completed, "after" photos. Then, down below in the body of the description of transformation, you can find more in-between photos to show what the steps between looked like. Have fun imagining! Your project could be next!
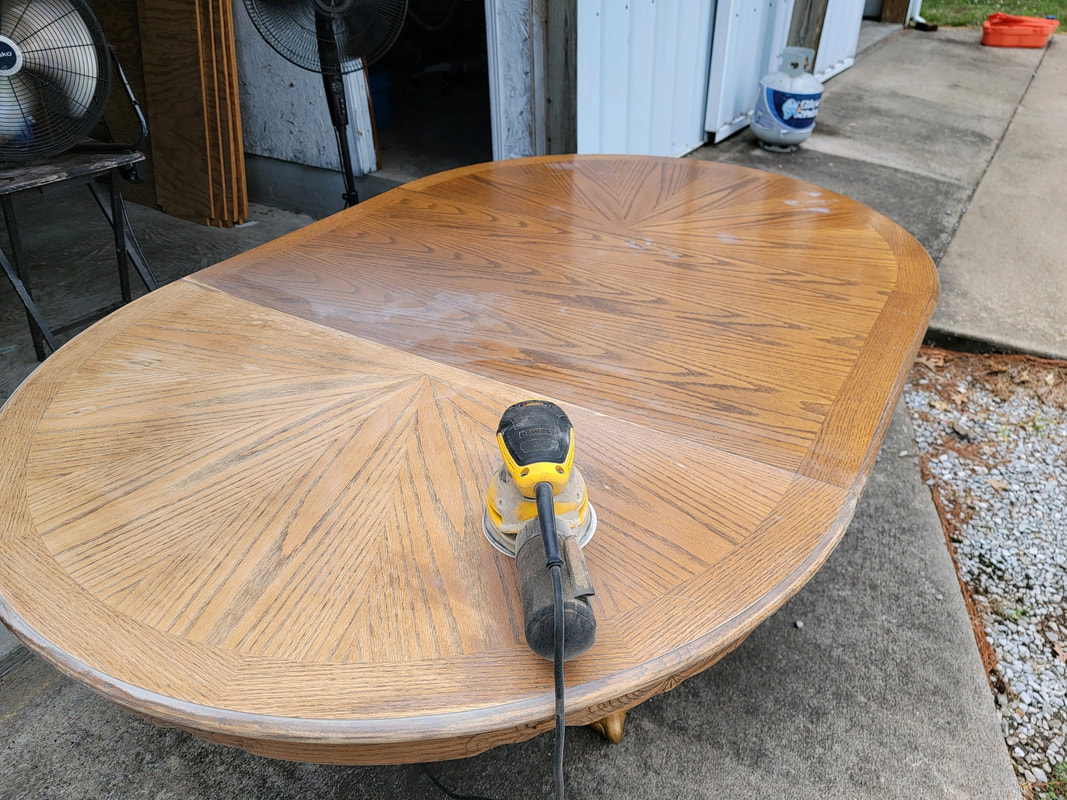
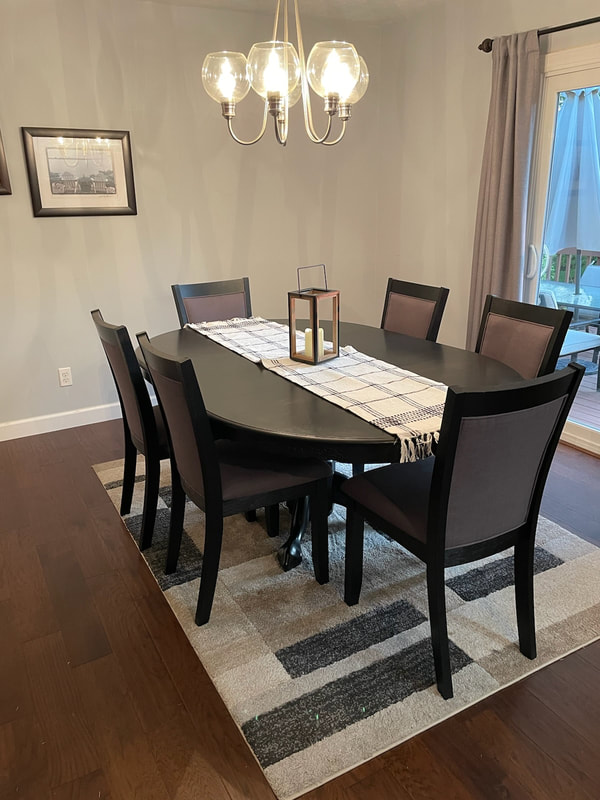
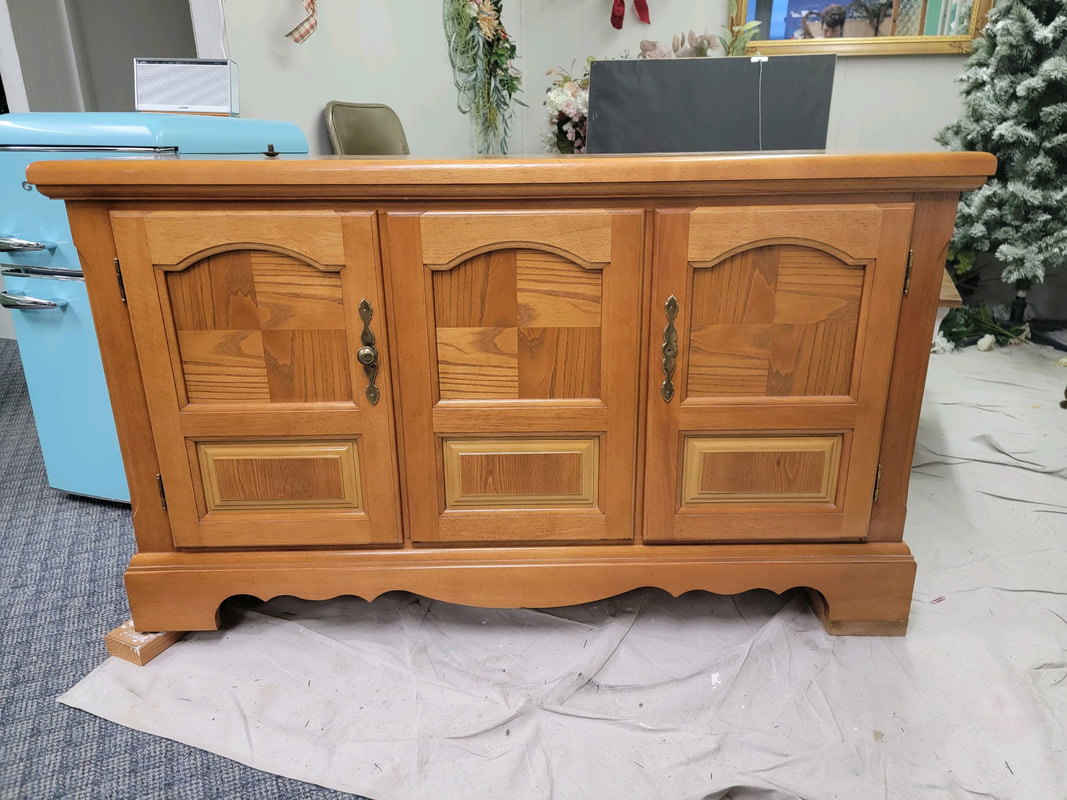
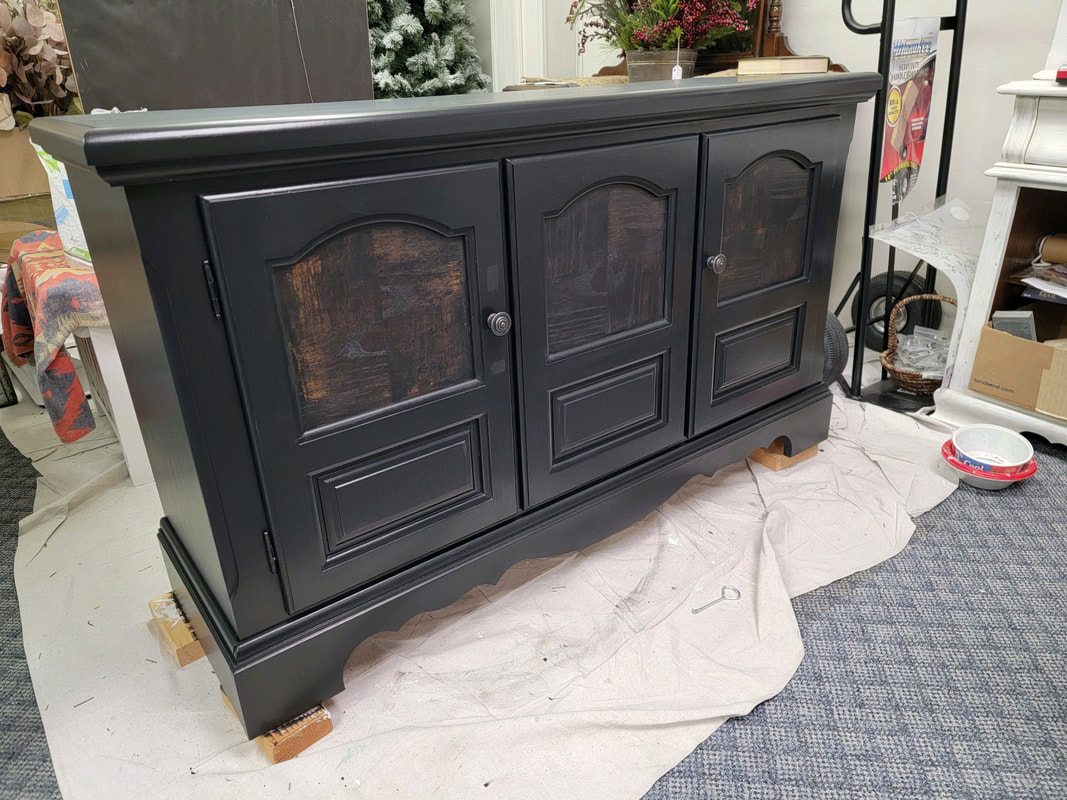
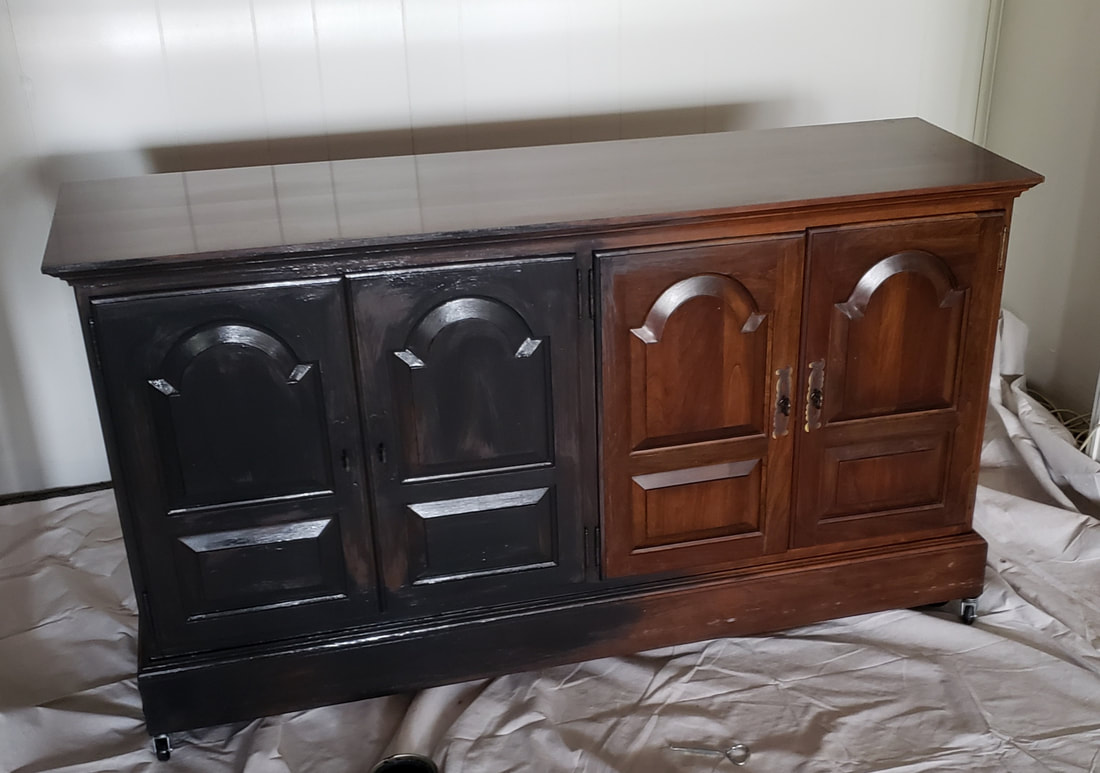
BUFFET AND TABLE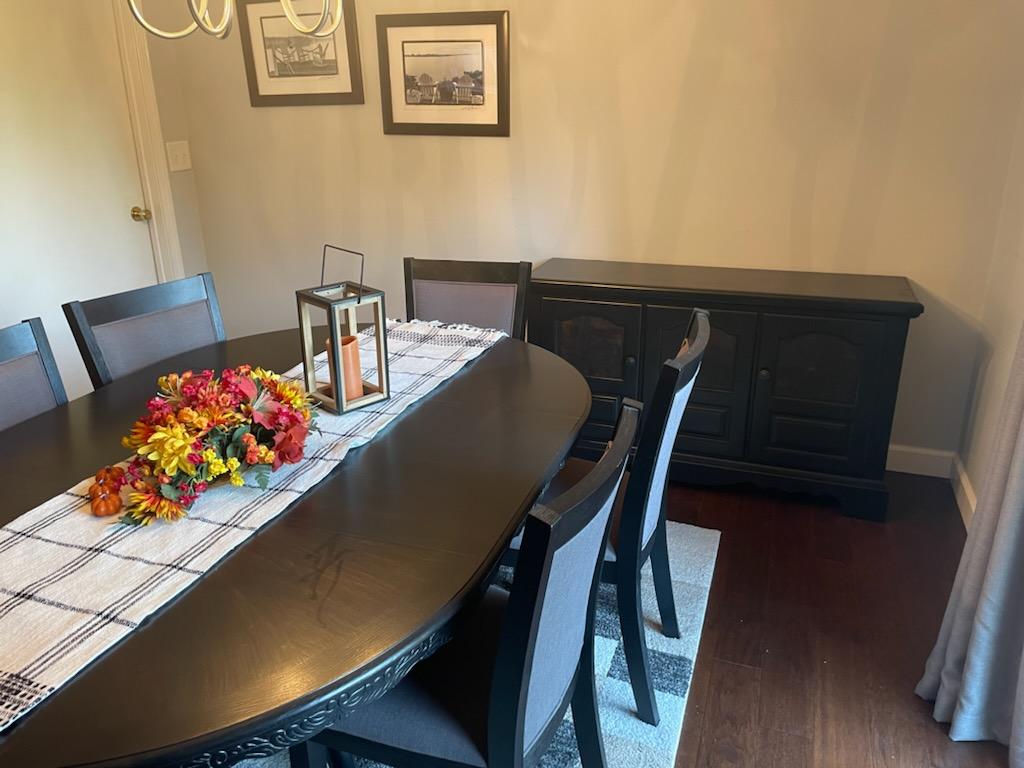
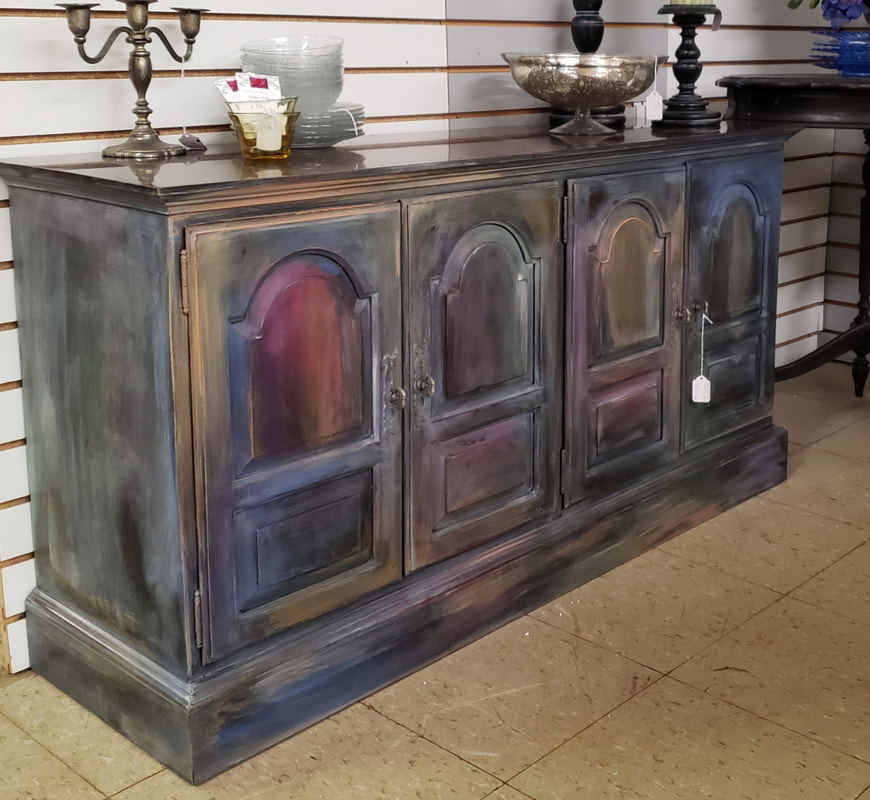
COLOR PIECE
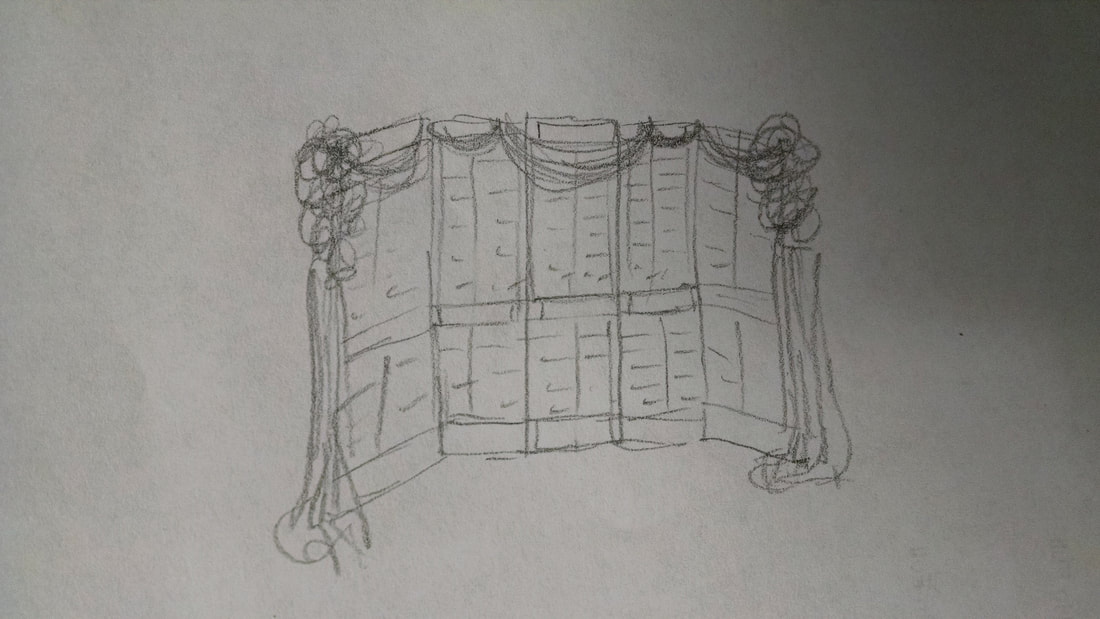
WEDDING BACKDROP PIECE
The story: Shutters from several closet doors were chosen for a wedding backdrop. First thing was to sketch an idea or baseline, if you will, for the finished product.
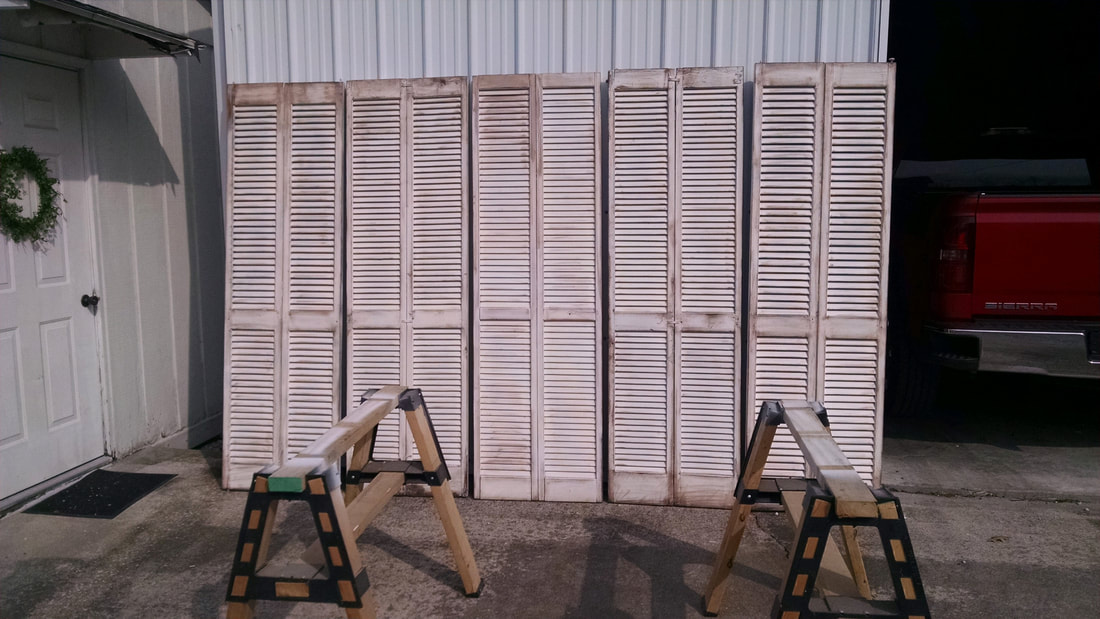
Some of the shutters needed to be turned around and/or flipped over so that the crossbars would be approximately the same height and so that the louvers would all be facing the same direction. Spray painted the sides that were deemed to be the front. Used a soft white color for the spray paint.
After painting them white, they were sanded to distress and then a dark brown stain was rubbed on them to further antique. Hinges were added to the outer 2 panels so they could be folded together for transport and for setup. The middle panel was free-standing at this point.
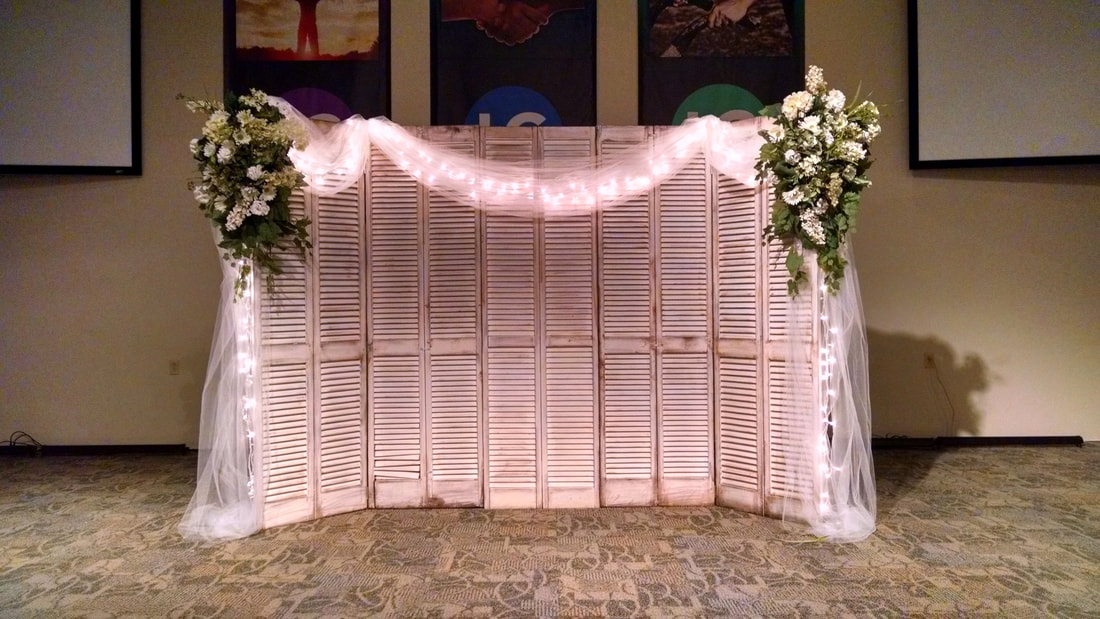
Finished product. To stabilize, a 1"x12" board was cut to length and screwed to the back of the middle section and the inner halves of each outer section, still allowing the wings to be moved inward on the stage for backdrop stability. At the top, 1" thick smaller blocks of wood were used to secure the frames together of the middle panels to the outer panels. All of this was done with the panels laying flat on the stage. Pictures were not taken at this point, unfortunately.
Tulle and lights were draped and secured to the tops of the panels, and hanging cascading arrangements that Posh Peony also made were hung at the outer top corners. FLORAL MATERIALS HOLDER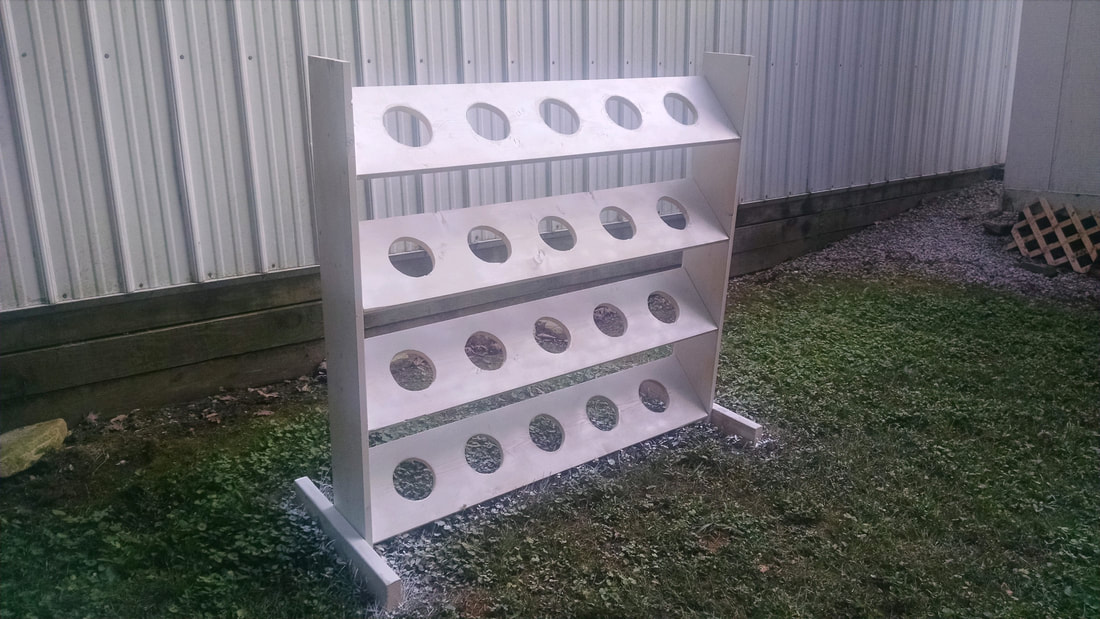
COUCH TABLE
This piece had good lines, so I had to pick it up! I used white chalk paint, clear wax protectant and bedazzled with fun knobs!
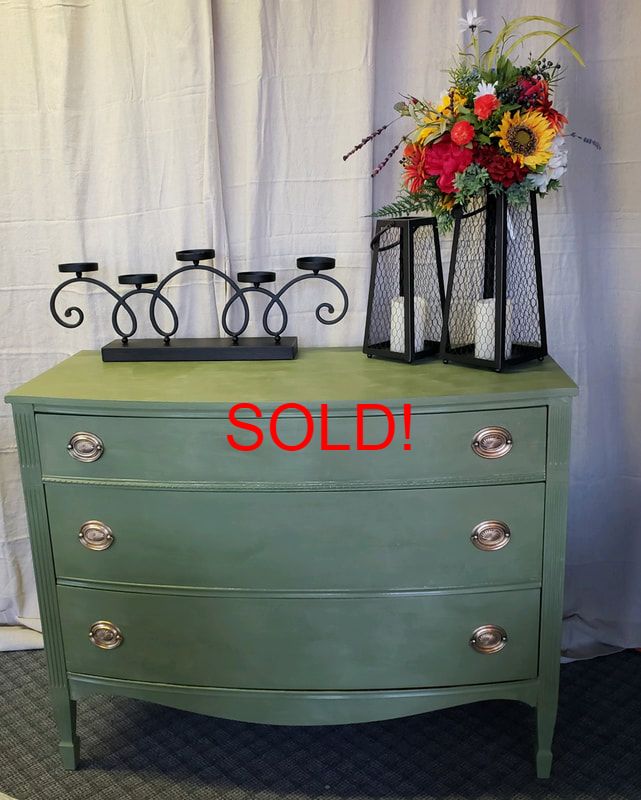
BROWN - TO - GREEN DRESSER
This piece was picked up in Virginia. Great lines! I decided to paint this a lovely green that is seasonless.
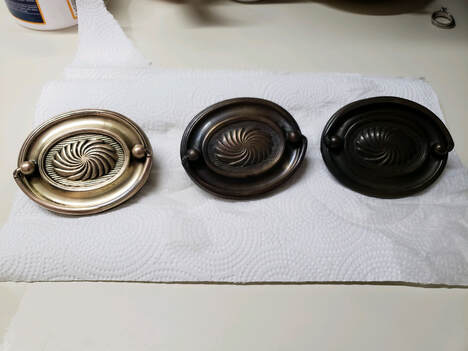
Check out the hardware. On the right is the untouched hardware, the middle is after having used Brasso, and the left is after having used Bar Keepers Friend. #barkeepersfriend
CHECKOUT COUNTER
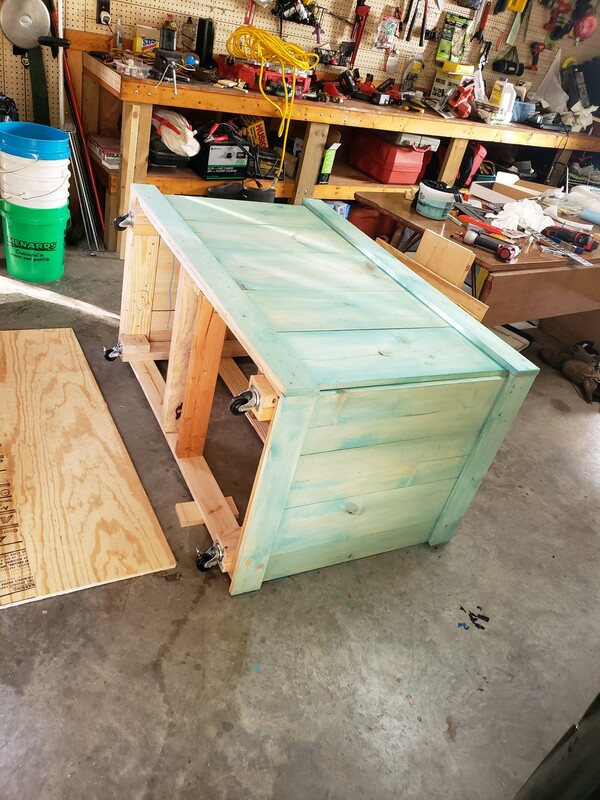
Time to draw again! This time, it's for a checkout counter at the storefront.
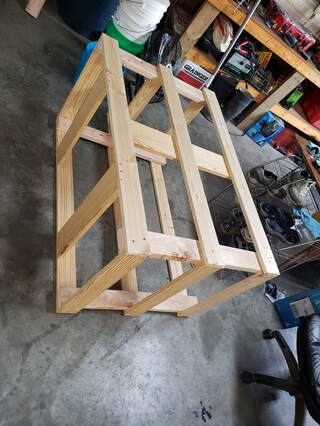
Got the frame pretty much done.

Shelving
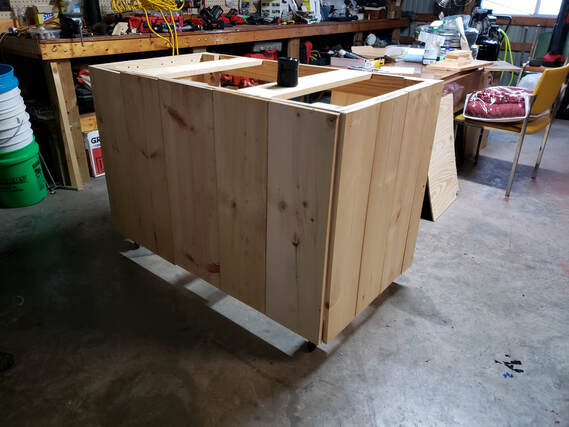
Skins are on! Yes, I wanted all the boards to line up how they do.
Taking a regular latex paint in an aqua color, I diluted it with water and used a rag to color wash the skins.
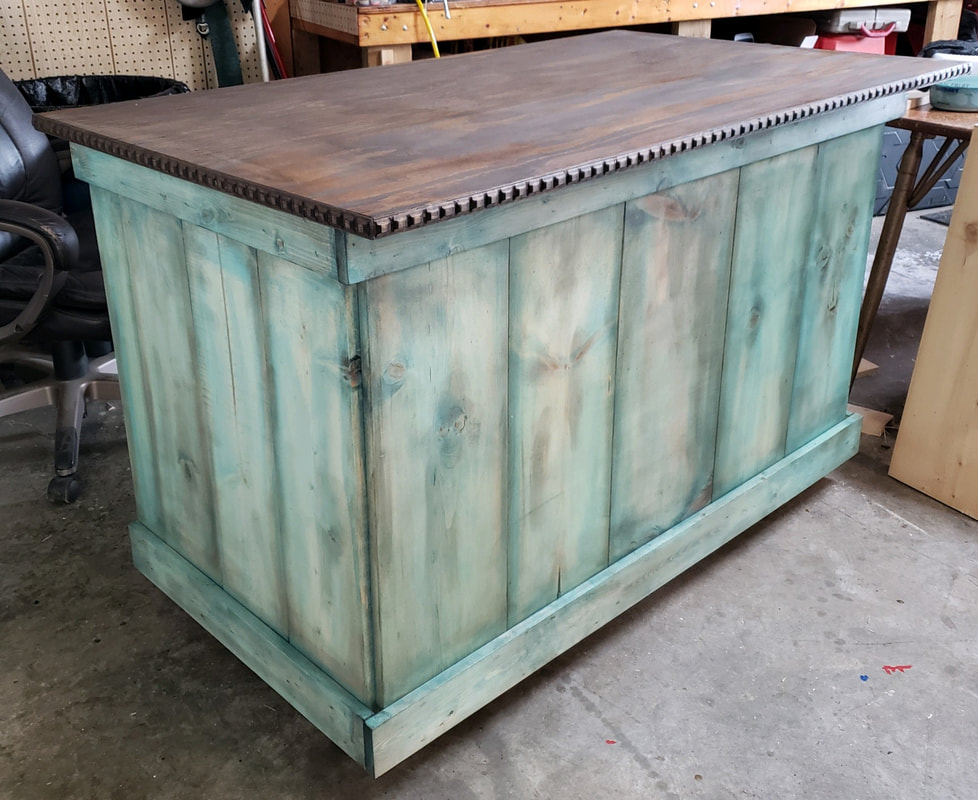
After the color wash, I first used clear wax, then dark wax for the base. The top is just a piece of plywood stained in a dark walnut color. I did attach some pretty moulding around the edges. Oh, I also attached caster wheels to the four corners at the bottom. I did have to attach blocks at the bottom so the wheel plates would have something to attach to. Two wheels are locking and the other two are not.
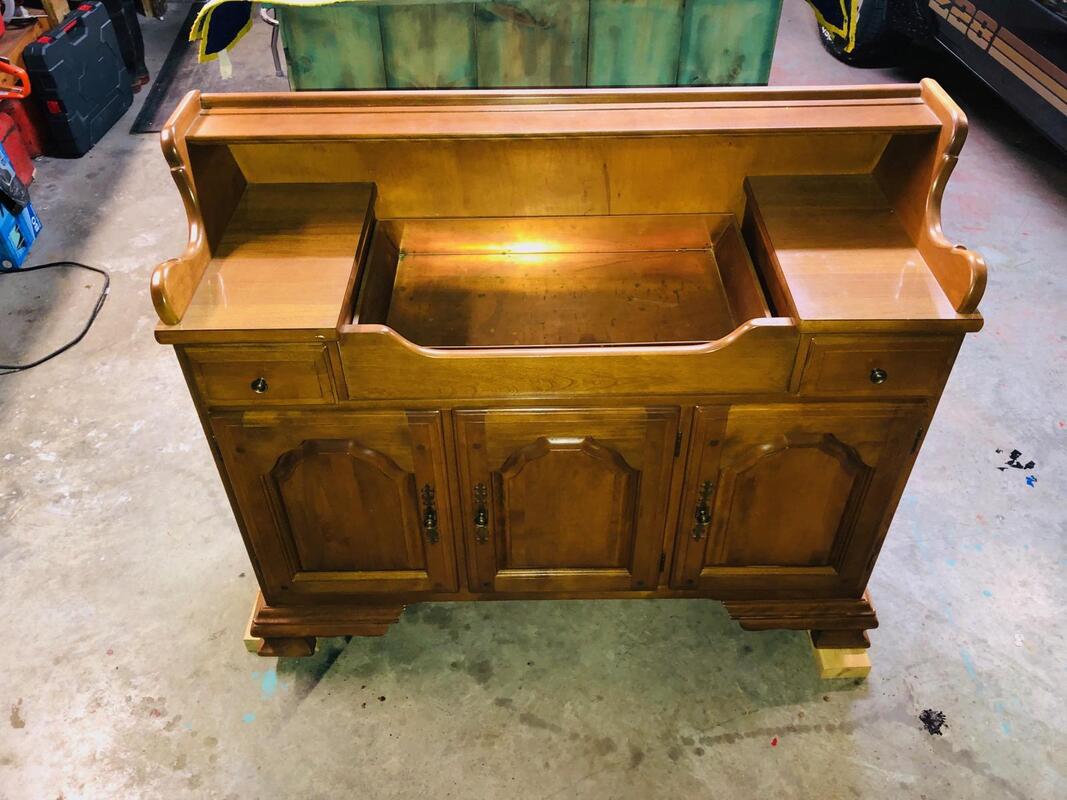
I first had to measure te door opening to the storefront to make sure the finished piece would fit through the door, and that includes considering the overhang that the top was going to have. It works and I love it! DISHWASH STAND
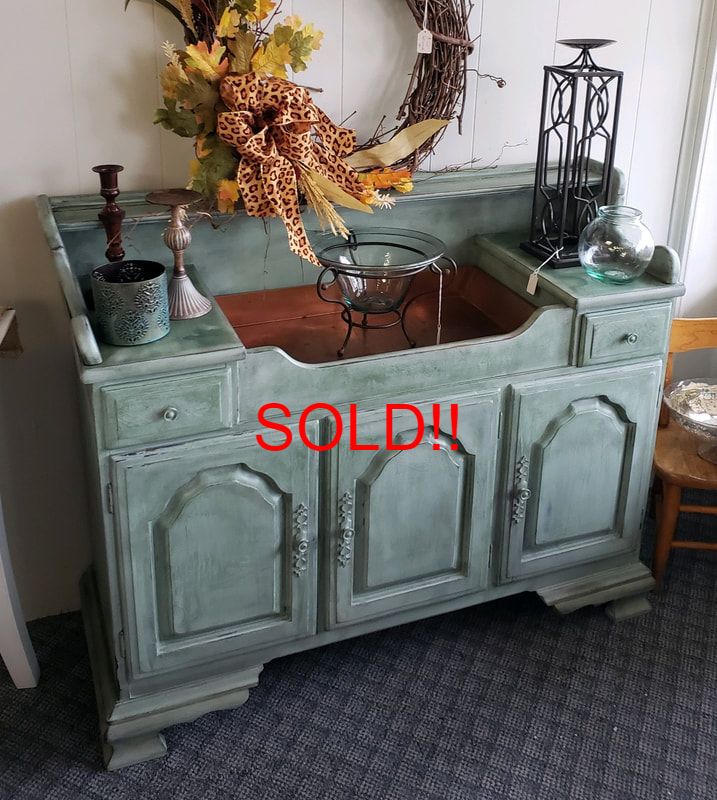
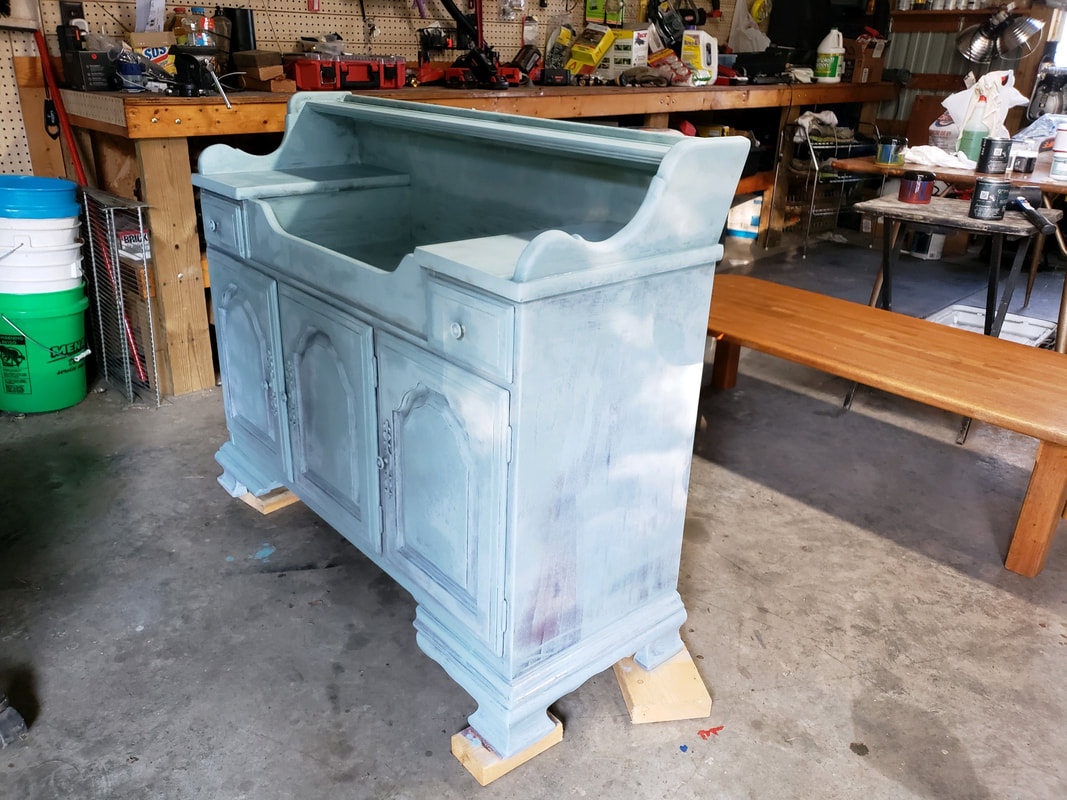
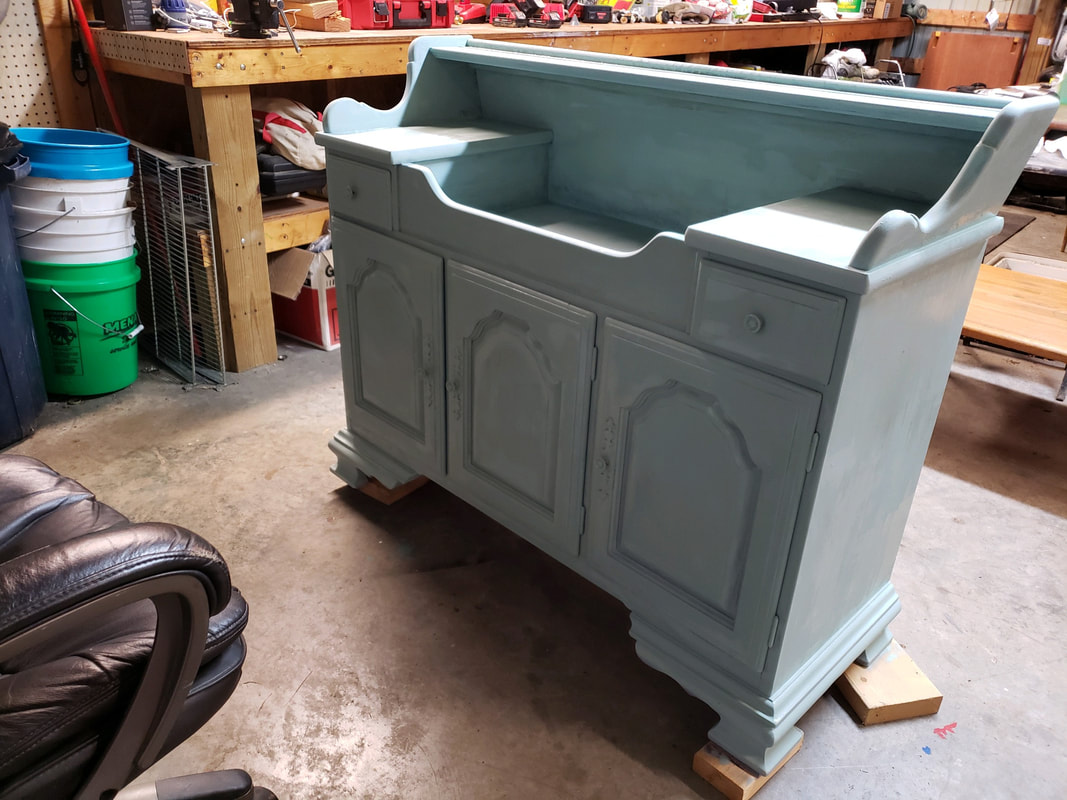
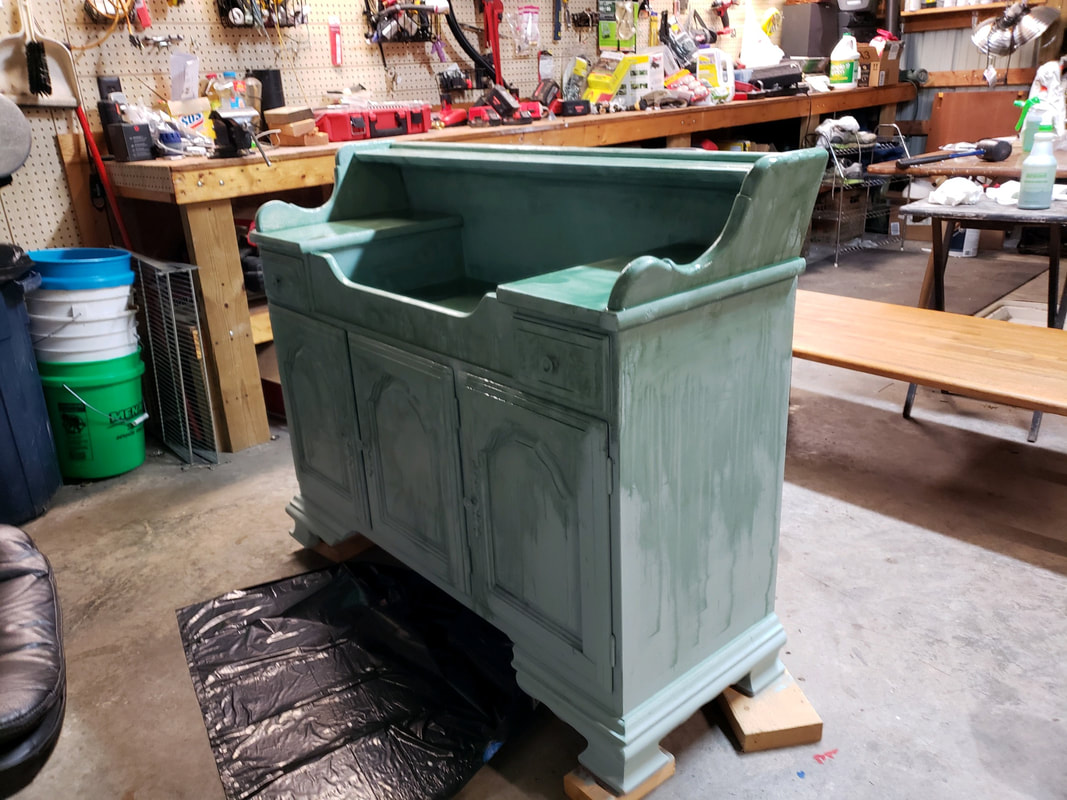
Check out this replica of a dishwash stand with a real copper tray!
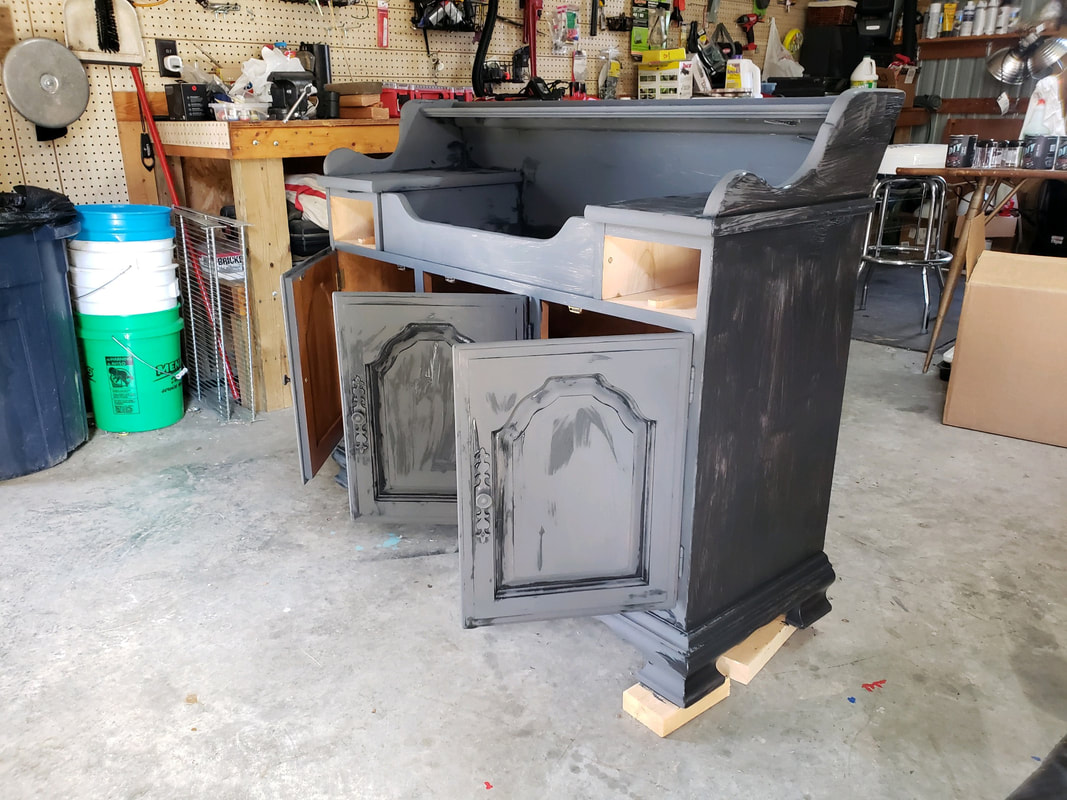
Base coat in Black Velvet by DIY Paint. (check out: https://debisdesigndiary.com/)
Chameleon time. I thought I could get these colors to barely show through with the finished product, but it didn't quite work out that way.
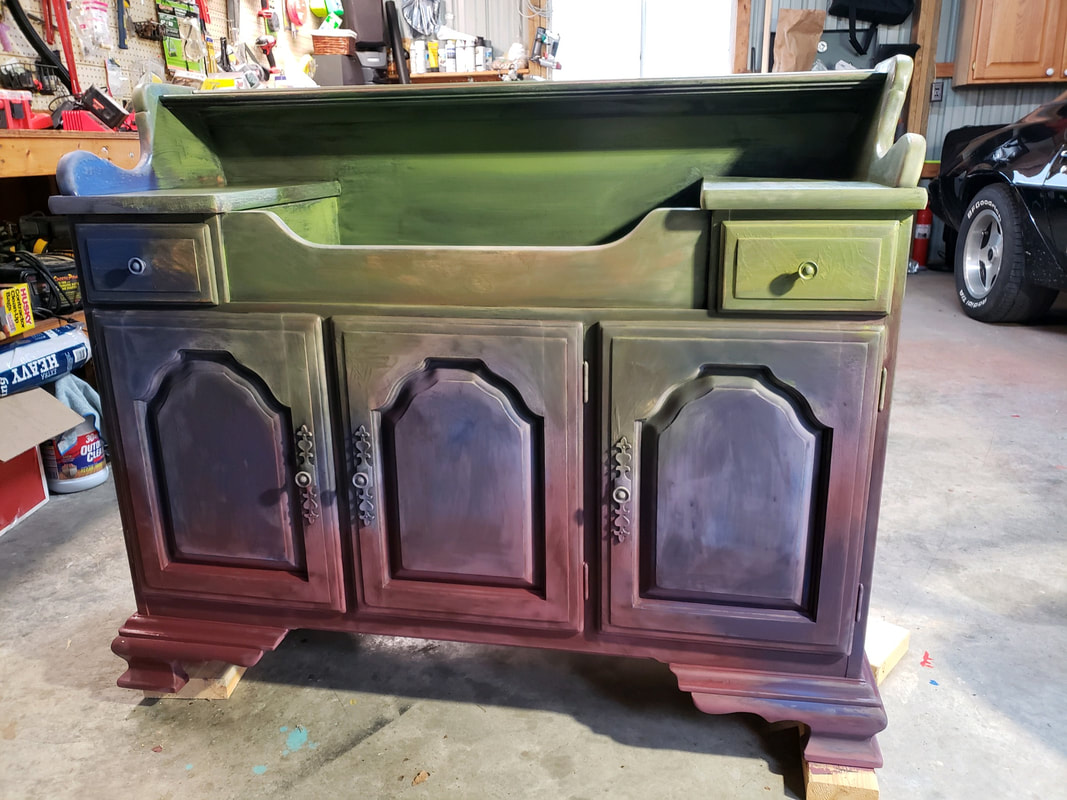
Main color....first coat. I mixed this color myself, using some DIY Paints.
Second coat. I did not spray the bottom or the entire piece.
This is where I really had fun! I took the original color I had mixed, added it to some water in a spray bottle, mixed and sprayed on the top and upper sides, letting the mixture do it's own thing.
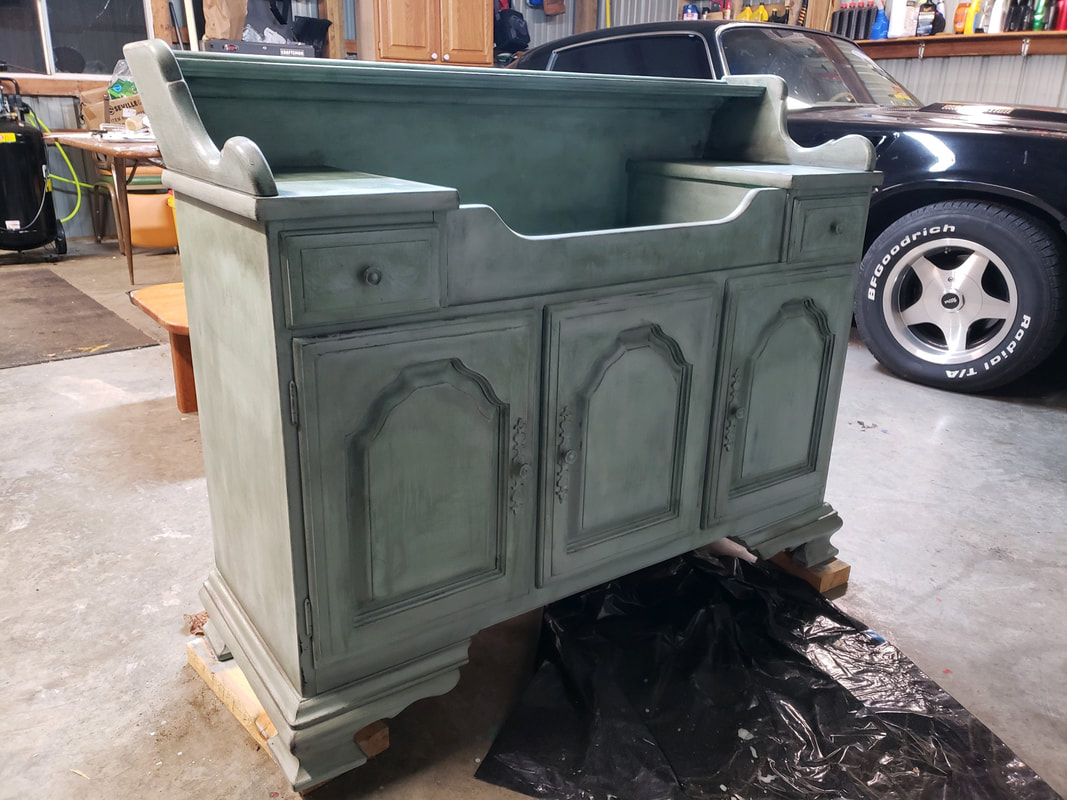
I then clear waxed it and dark waxed it. I distress sanded it a bit before waxing, but not a lot.

This is the finished piece and I absolutely love it!
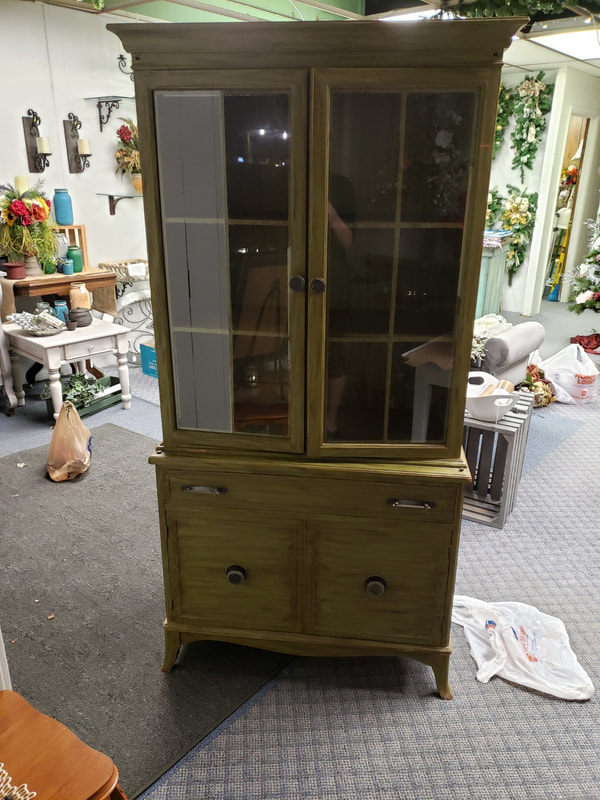
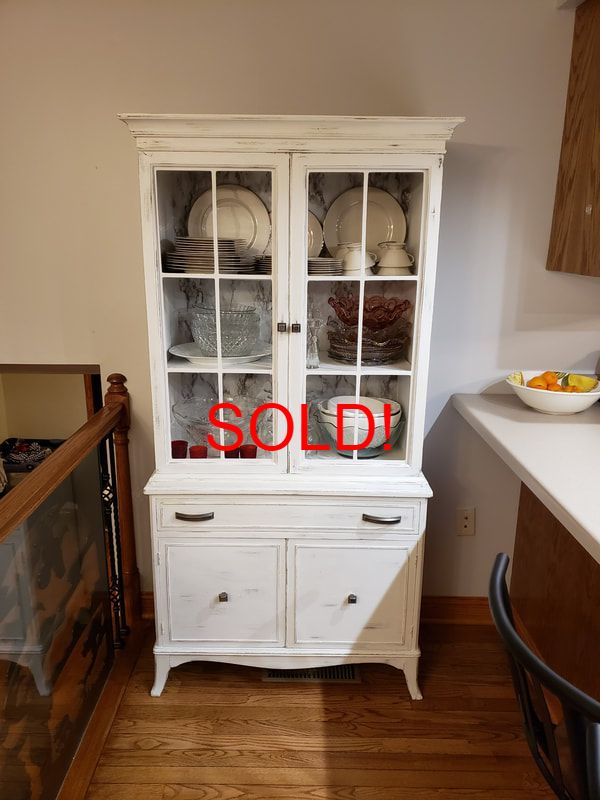
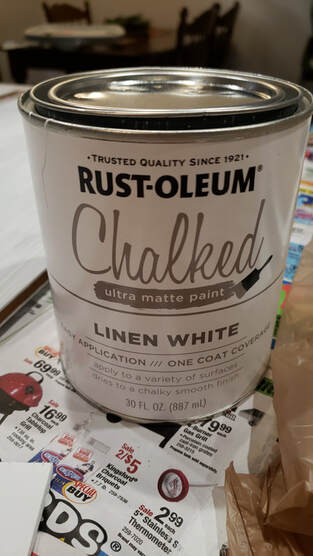
CHINA CABINET
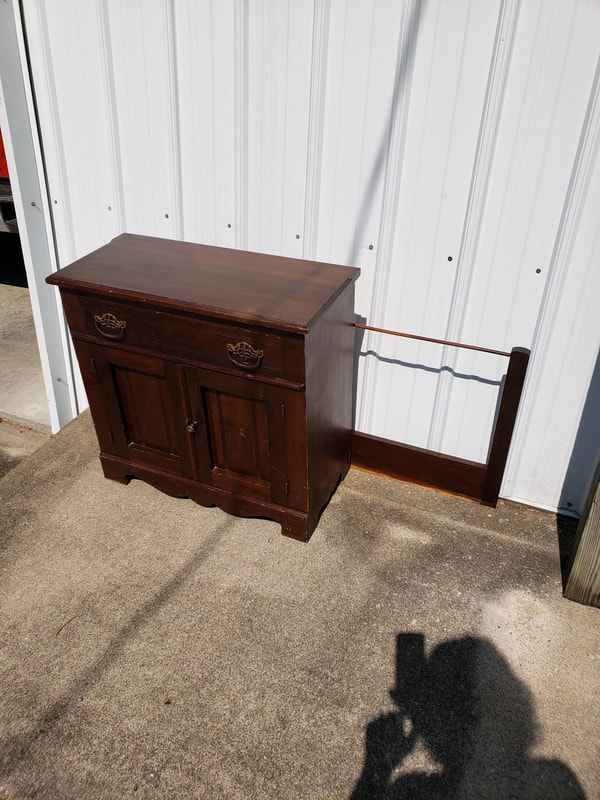
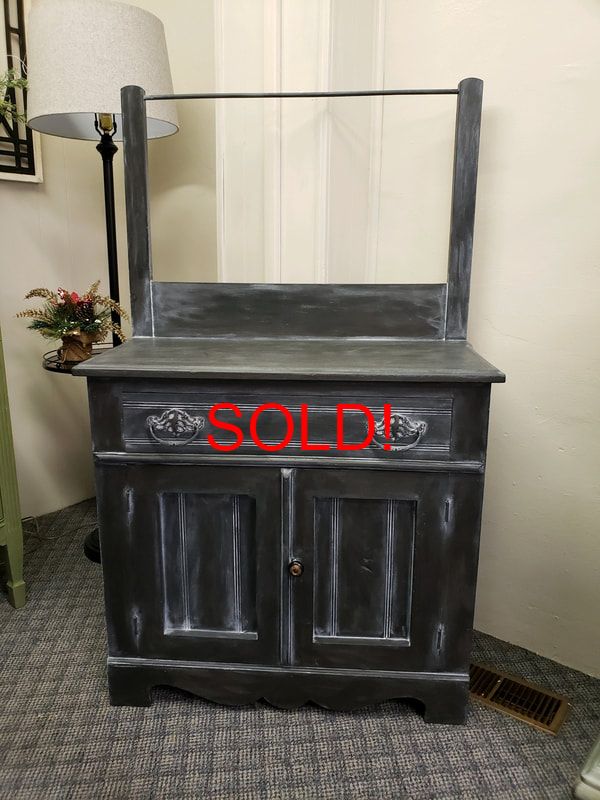
ANTIQUE WASHSTAND
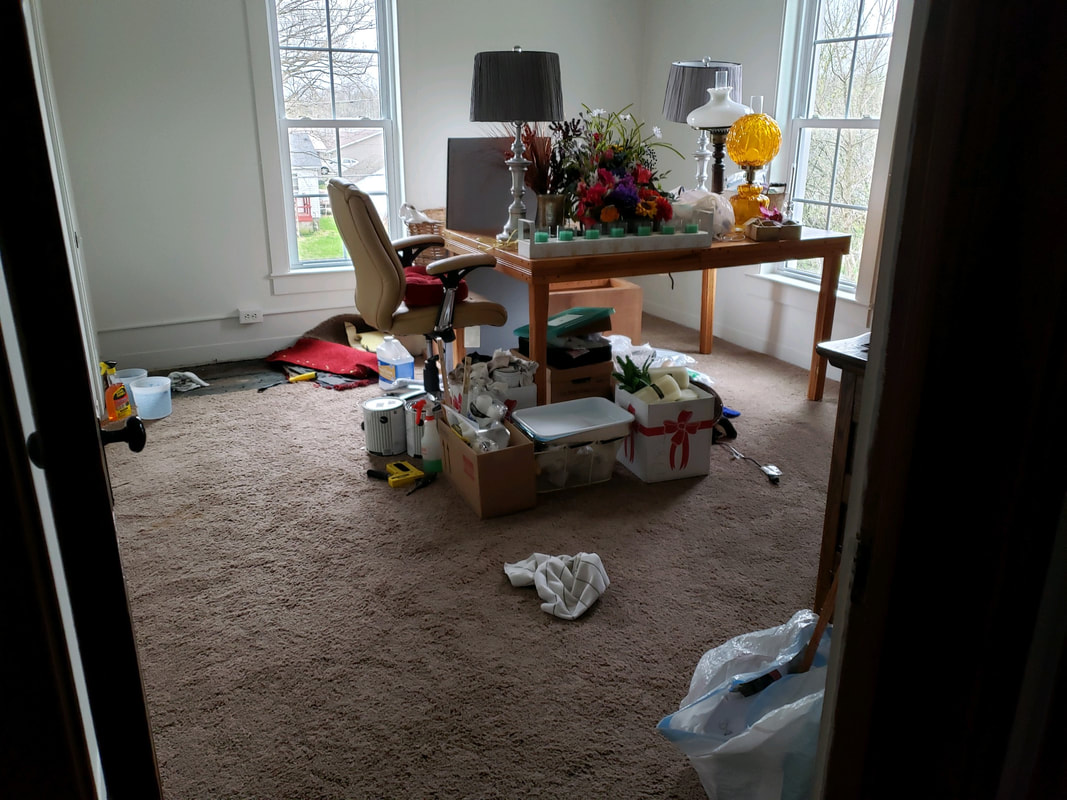
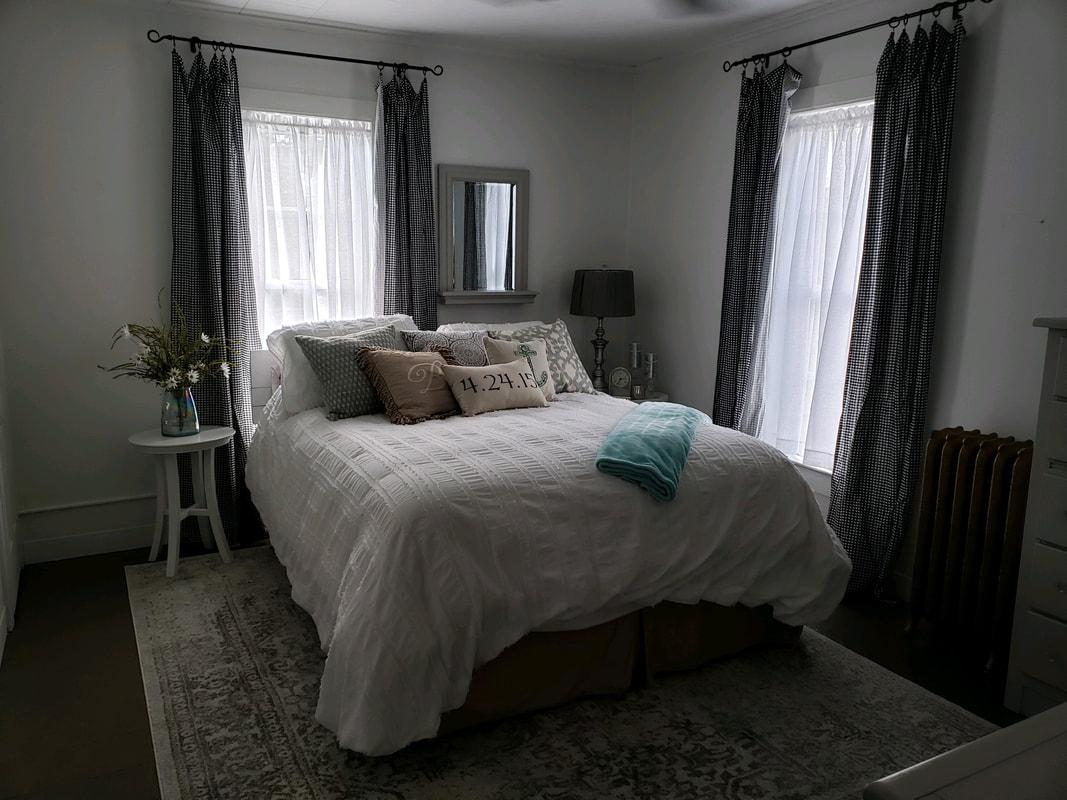
BEDROOM
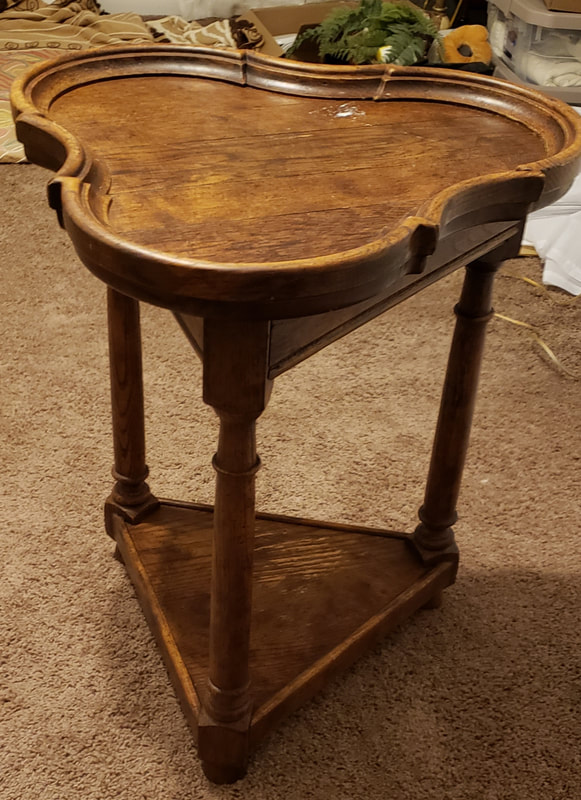
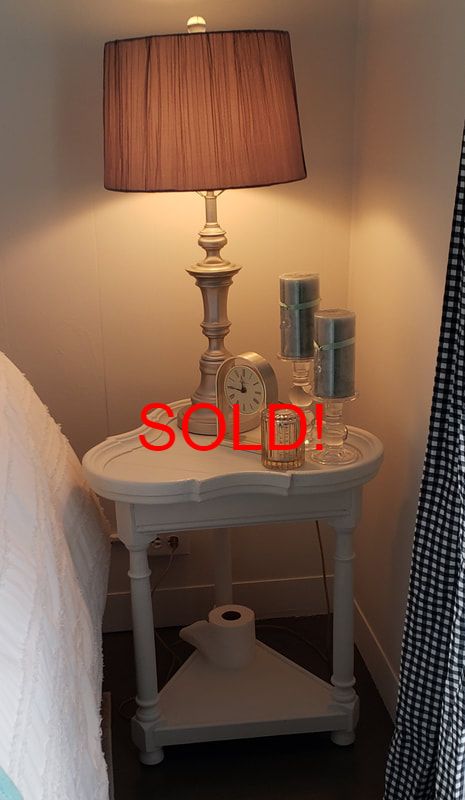
SIDE TABLE
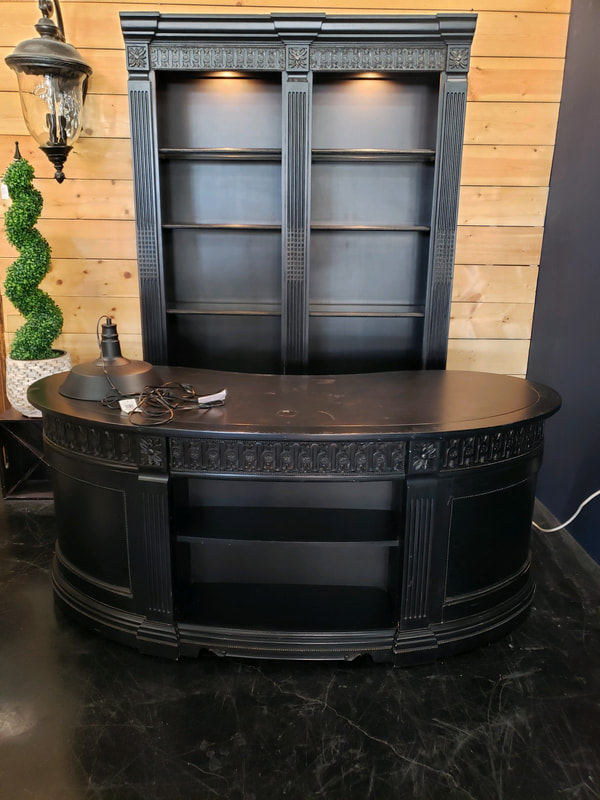
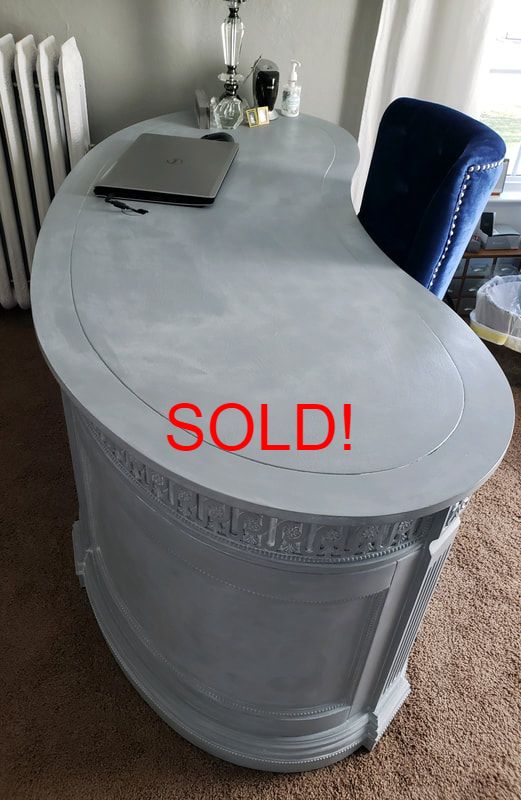
DESK AND BOOKSHELF
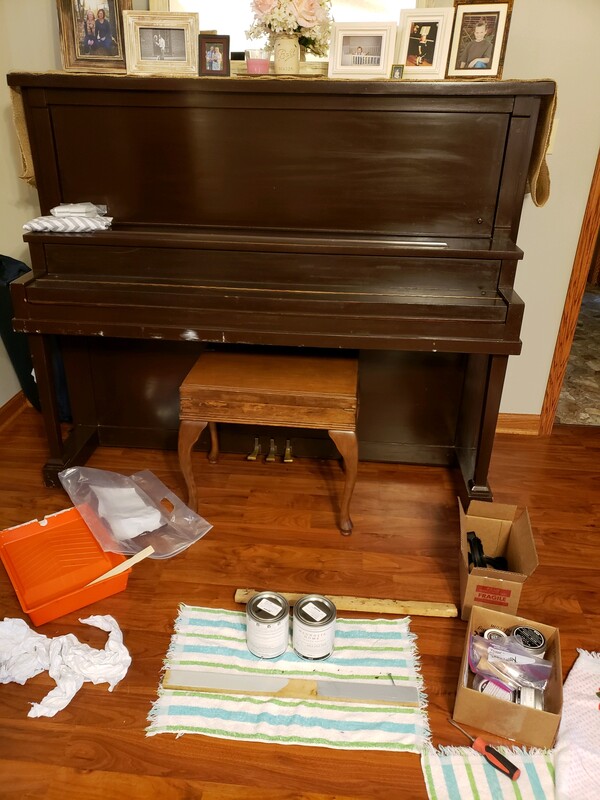
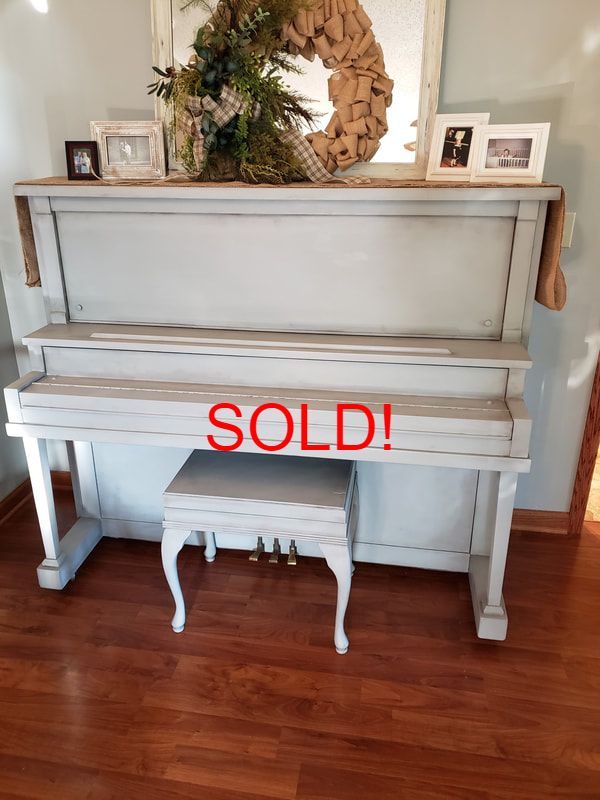
PIANO
|